Before, during and after the Ceremony At the Church Photos
We are two wedding photographers that love wedding photography. We have put together a list of essential ‘Before, during and after the Ceremony’ that you should have taken on your big day.
1. Ceremony Room/Venue
- Arrive early: Arrive at the ceremony location early so that you have plenty of time to set up your equipment and take test shots.
- Take wide-angle shots: Capture the entire room by taking wide-angle shots that show the layout and decor of the ceremony space. This can be a great way to set the scene and give viewers a sense of the ambiance.
- Highlight the details: Take pictures of the small details that are important to the couple, such as floral arrangements, centrepieces, or other decor elements.
2. Guests arriving at the venue
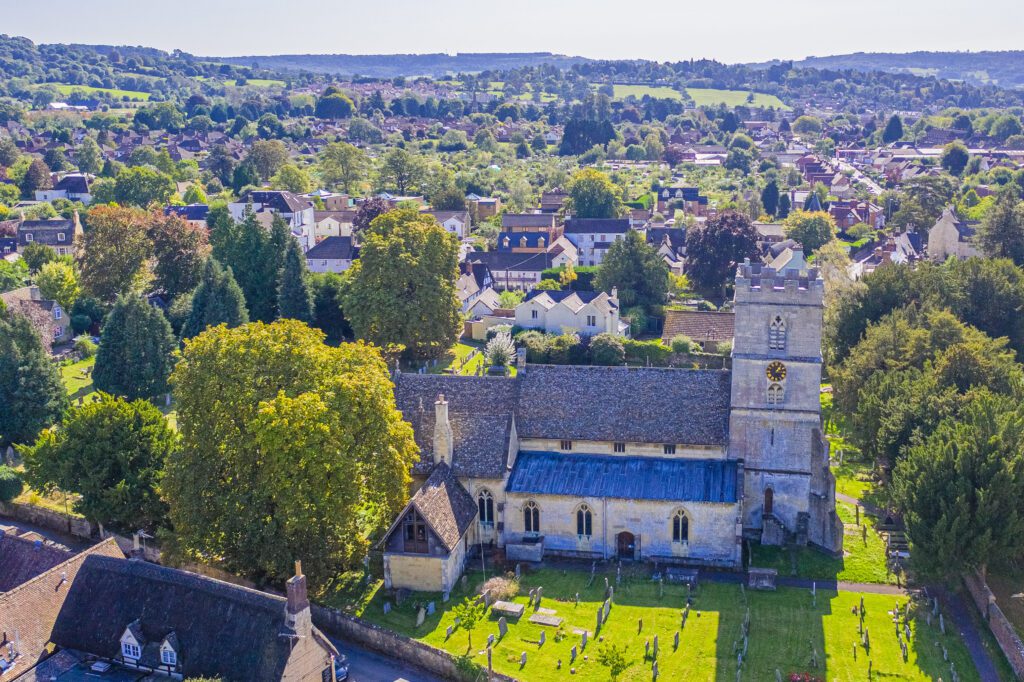
- Scout out a location: Before the guests arrive, scout out a good location to take pictures of them as they arrive. Look for a spot that is well-lit and has a nice background, such as a beautiful landscape or the wedding venue itself.
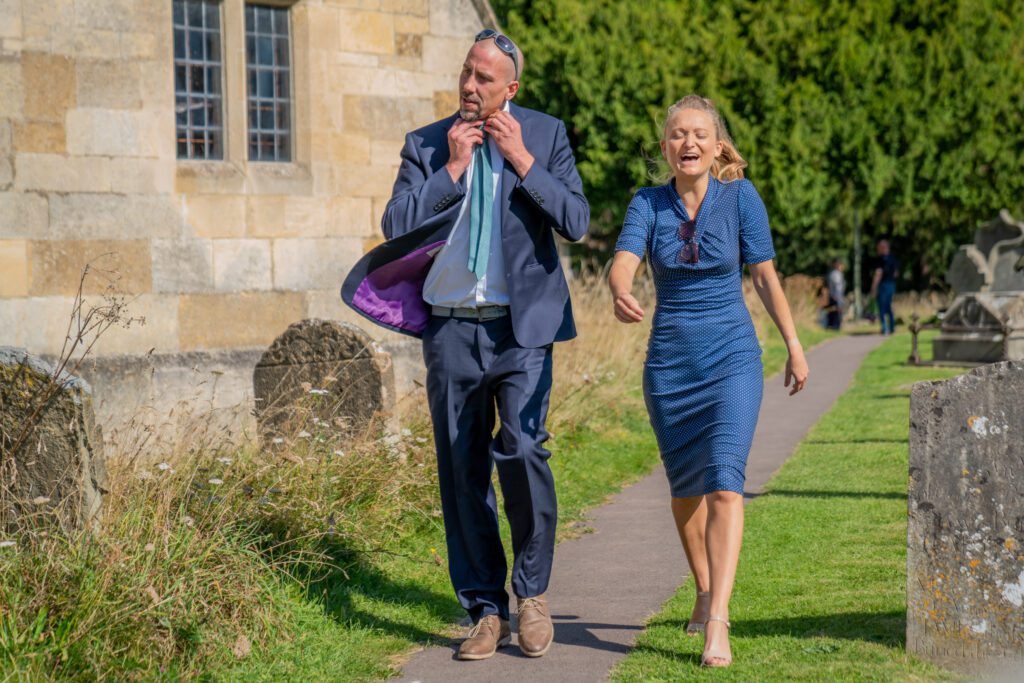
- Capture candid moments: As the guests arrive, try to capture candid moments of them interacting with each other, such as hugging or chatting. These moments can add a lot of personality and emotion to your photos.
3. Bride kissing father on cheek
- Look for the right moment: The moment when the bride kisses her father on the cheek can happen during various parts of the wedding, such as before the ceremony, during the father-daughter dance, or during the reception. Be prepared and attentive to capture the moment when it happens.
- Use a zoom lens: Using a zoom lens can allow you to capture the moment without getting too close or intrusive. A zoom lens also allows you to capture the details and emotions of the moment without distracting the subjects.
- Capture the moment: Once the moment arrives, capture several shots to ensure you get the perfect shot. You may want to take both posed and candid shots to capture different emotions and expressions.
4. Bride with a proud mother and father looking on
- Find a suitable location: Look for a location with good lighting and a beautiful background that complements the bride’s dress. It could be indoors or outdoors depending on the wedding venue.
- Pose the parents: Ask the parents to stand close to the bride and to look at her with pride and joy. You may need to give them some direction on how to stand and where to look.
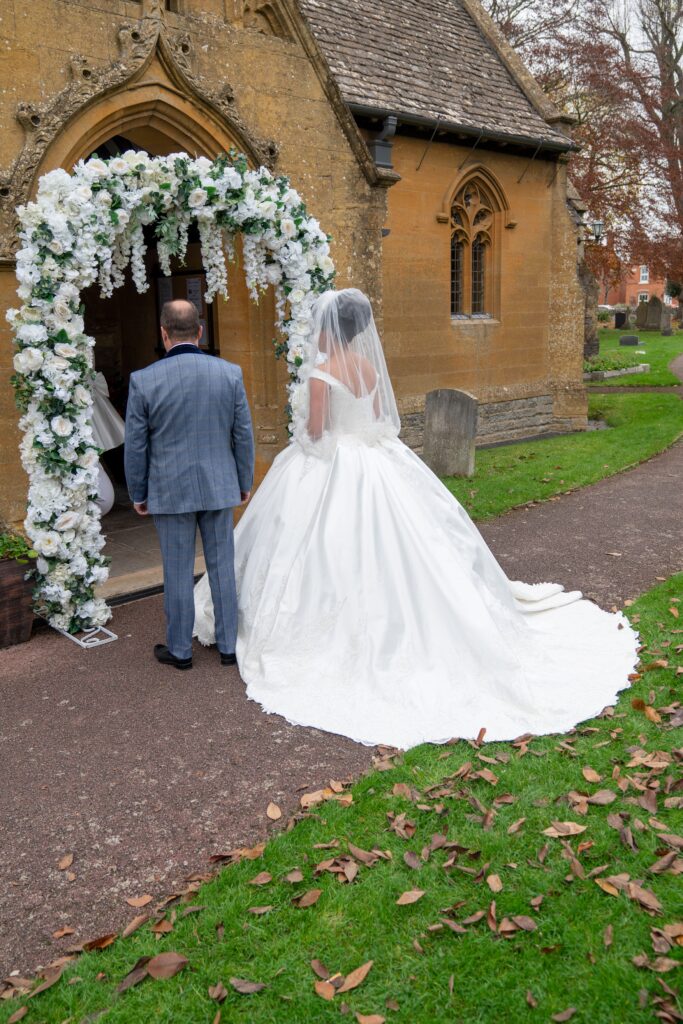
5. Bride about to go Into the Ceremony
- Be prepared: you can’t ask for this moment to be done again
- Be discreet: It’s important to capture candid shots of the bride here.
- Focus on emotions: Capture the bride’s emotions as she prepares to walk down the aisle. Take pictures of her getting emotional, laughing, or sharing a special moment with her bridesmaids or family.
6. Groom Waiting at the Altar
- Position yourself well: Make sure to position yourself in a place where you can capture the groom’s expression as well as the bride’s entrance. You may need to move around during the ceremony to get the best shots.
- Use a telephoto lens: A telephoto lens can help you capture the groom’s expression from a distance without being too intrusive. It also helps to blur out any distractions in the background.
- Look for emotion: As the bride enters, there will be a lot of emotions on the groom’s face. Try to capture those moments when he first sees her and throughout the ceremony.
7. Wedding Ceremony
- Scout the location: Visit the wedding venue beforehand to familiarize yourself with the surroundings, available lighting, and potential photo opportunities. Look for interesting angles and compositions.
- Prepare for the lighting: Wedding ceremonies often take place in low-light conditions, so be prepared to adjust your camera settings and use external lighting sources if necessary.
- Capture the emotions: Wedding ceremonies are emotional events, so look for candid moments that capture the emotions of the couple, their families, and guests. Be unobtrusive and respectful of the ceremony proceedings.
- Be creative: Don’t be afraid to try new techniques or experiment with different angles and compositions to create unique and memorable photos.
8. Aisle Decor
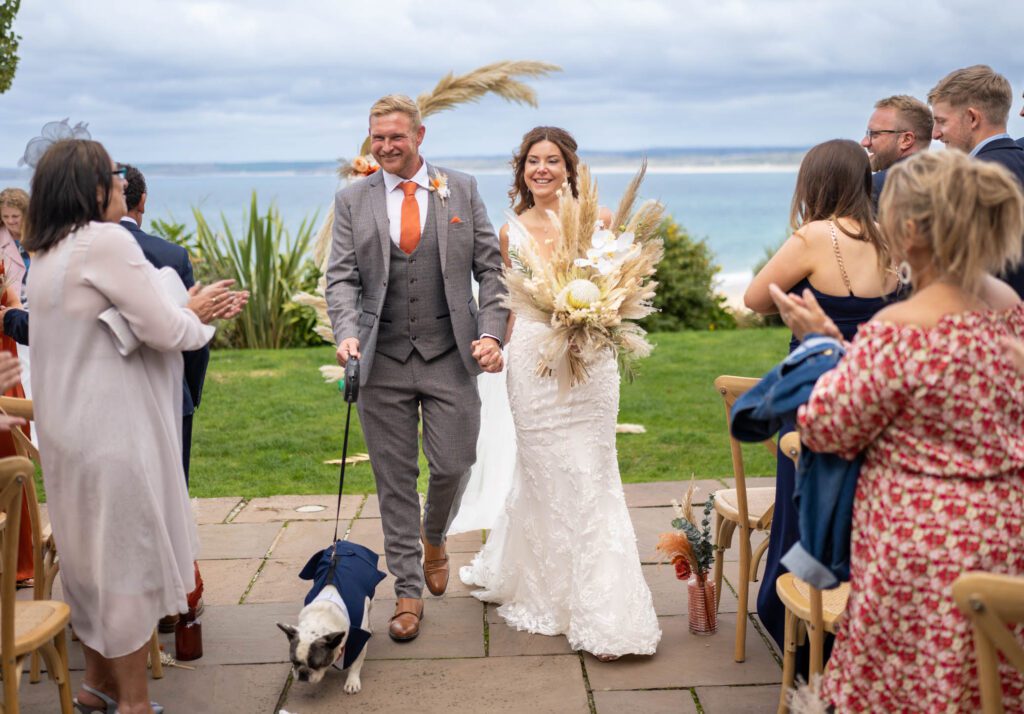
- Arrive early: Arrive at the venue early, so you have plenty of time to take pictures of the wedding aisle decor before the guests arrive.
- Find the right angle: Look for the best angle to capture the entire wedding aisle decor. Consider shooting from the back of the room, the front of the room, or from the sides.
- Focus on the details: Take pictures of the details that make the wedding aisle decor special, such as the floral arrangements, candles, and other decorations.
- Include the surroundings: Incorporate the surroundings into your shots, such as the chairs, the wedding arch, or other natural elements. This can add depth and interest to your photos.
9. Bridesmaids Walking Down the Aisle
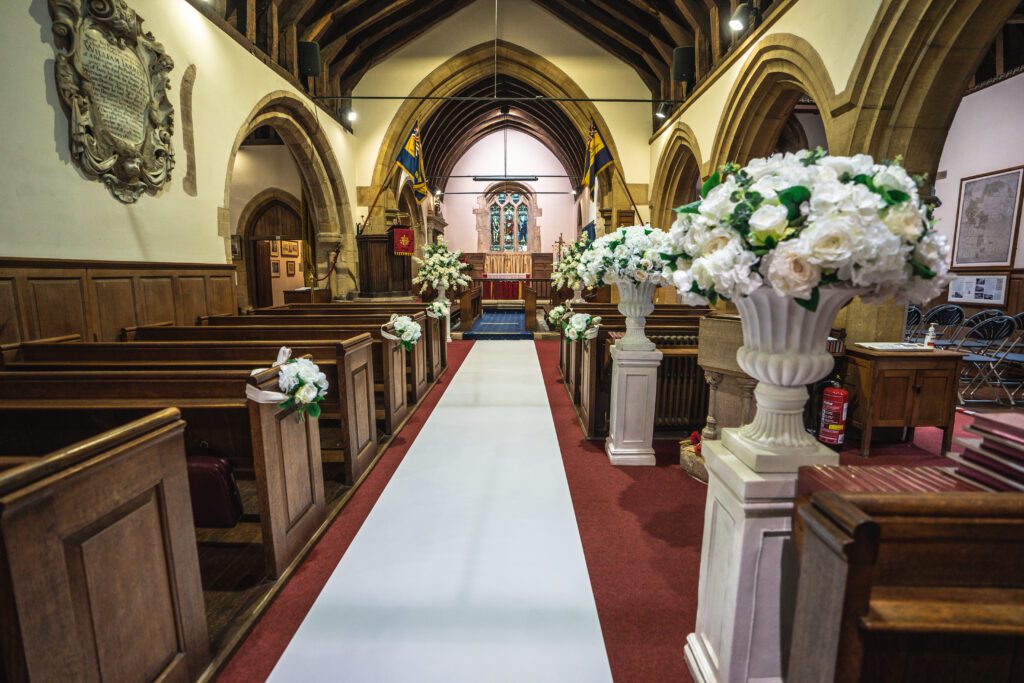
- Position yourself properly: Before the ceremony begins, find a good spot to capture the bridesmaids as they walk down the aisle. Usually, this spot is at the front of the ceremony area, near the aisle. Make sure you have a clear line of sight and that you won’t be blocking anyone’s view.
- Use the right lens: A wide-angle lens is best for capturing the entire scene, but you may also want to use a zoom lens to get closer shots of the bridesmaids’ faces.
- Be mindful of the bridesmaids’ movement: As the bridesmaids walk down the aisle, they may move quickly, so make sure your shutter speed is fast enough to capture their movement without any blur.
- Take candid shots: As well as capturing the formal procession shots, try to capture candid moments of the bridesmaids walking down the aisle. This can include shots of them chatting, laughing or shedding tears of joy.
10. Bride Walking Down the Aisle
- Be prepared: Before the ceremony, scout out the location where the bride will be walking down the aisle. Think about the lighting and the angles you’ll want to use.
- Use a long lens: To get close-up shots of the bride, use a long lens. This will allow you to capture her emotions and expressions without being intrusive.
- Be discreet: As the bride walks down the aisle, it’s important to be as unobtrusive as possible. Try to move quietly and avoid getting in the way of the guests.
- Capture the details: Don’t just focus on the bride’s face. Take pictures of the entire scene with a wide angle lens.
- Have a second photographer at the back of the church to capture more angles.
- Don’t forget the groom: As the bride walks down the aisle, don’t forget to capture the groom’s reaction. This is a special moment for both of them, and you want to capture their emotions.
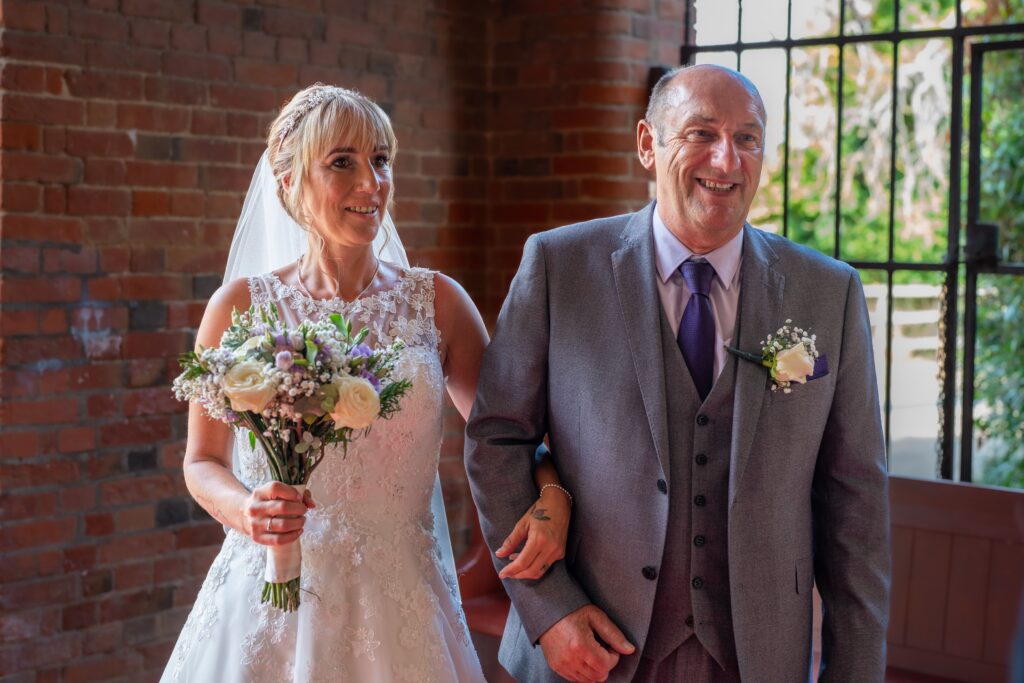
11. Bride and father of the bride coming down the aisle
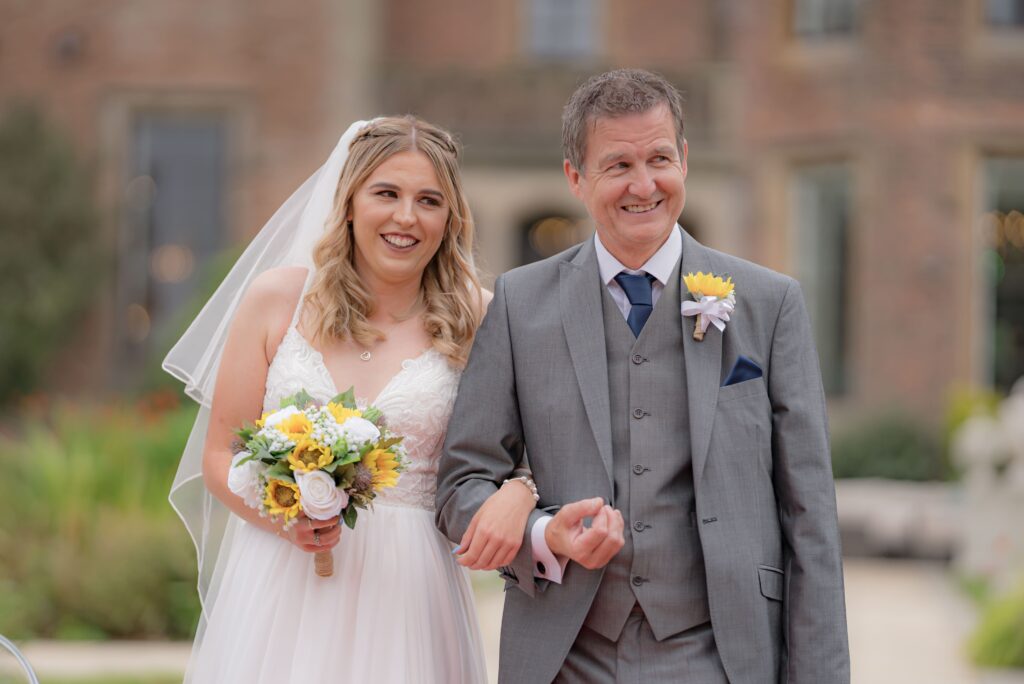
- Emotion: Capture the raw, genuine emotions between the bride and her father. Look out for moments of laughter, tears, exchanges of glances, or a tender touch. These unrehearsed moments become the most memorable snapshots.
- Background: Be mindful of the surroundings in the church or wedding venue. A clutter-free background or a beautifully decorated altar can enhance the image, drawing focus to the bride and her father.
- Unique Angles: Experiment with various angles to add visual interest to the photos. Position yourself at a lower perspective to make the subjects look grander or take a shot from up above to capture the grandeur of the venue.
- Candid Moments: Capture candid moments before the walk down the aisle, such as the father offering a reassuring smile or a final hug before the bride takes her first step.
- Sequence of Events: Document the entire walk by capturing a series of images that show the progression of the bride and her father moving towards the altar. This creates a storyline and a sense of continuity for the wedding album.
- Reactions: Do not forget to capture the reactions of the groom, close family members and friends. Their expressions often showcase the importance and beauty of the moment.
12. Bride Given Away
- Position yourself strategically: It’s important to position yourself in a spot where you can capture the expressions on the bride’s face as she’s being given away. You may want to consider standing at the end of the aisle, or off to the side, so you can capture the bride, her father, and the groom’s reaction.
- Use a fast shutter speed: This is a moment that may happen quickly, so it’s important to use a fast shutter speed to freeze the moment and prevent blur.
- Stay respectful: Remember to be respectful and unobtrusive during this moment. It’s important to capture the moment, but not at the expense of distracting or disrupting the ceremony.
13. Ring Bearer
- Find out who is going to be the ring bearer: Make a note of where they are sitting so that you ready for when they are called up to present the rings
- Get down to their level: To capture the best shots, get down to the ring bearer’s eye level. This will help you create a more intimate and engaging photo.
- Be patient: Children can be unpredictable, so be patient and prepared to take lots of photos. Try to capture a range of expressions and poses to create a diverse and interesting set of photos.
- Include the ring: Make sure to include shots of the ring bearer holding the rings or walking down the aisle with them. These photos will help capture the significance of the ring bearer’s role in the wedding.
14. A Close-Up of the Rings
- Lighting: Good lighting is crucial in capturing the intricate details of the wedding rings. Ensure that soft, diffused light is used to avoid harsh shadows, while bringing out the texture and shine of the metal and the sparkle of the gemstones.
- Background: Choose a background that complements and enhances the beauty of the rings. This might include a textured surface or fabric, such as the wedding invitation, lace from the bride’s dress, or a beautiful flower from the bouquet.
- Depth of field: Utilize a shallow depth of field (a large aperture) to create a beautiful, blurred background that draws attention to the rings. This helps in isolating the rings from their surroundings, drawing the viewer’s eye to the details and creating a more striking image.
- Equipment: Using a macro lens or extension tubes allows for true close-up photography, enabling you to capture the smallest details of the rings. A tripod may be beneficial to ensure stability and prevent camera shake, resulting in a sharp image.
15. The Vows
- Choose the right lens: Use a lens that allows you to capture the couple’s faces clearly, such as a portrait lens or a zoom lens.
- Be discreet: Try to be as unobtrusive as possible during the ceremony, so that the couple and their guests can focus on the ceremony. Use a quiet shutter and avoid using flash if possible.
- Be prepared for the unexpected: Weddings can be unpredictable, so be ready to adapt if something unexpected happens during the vows. Stay alert and be ready to capture the moment.
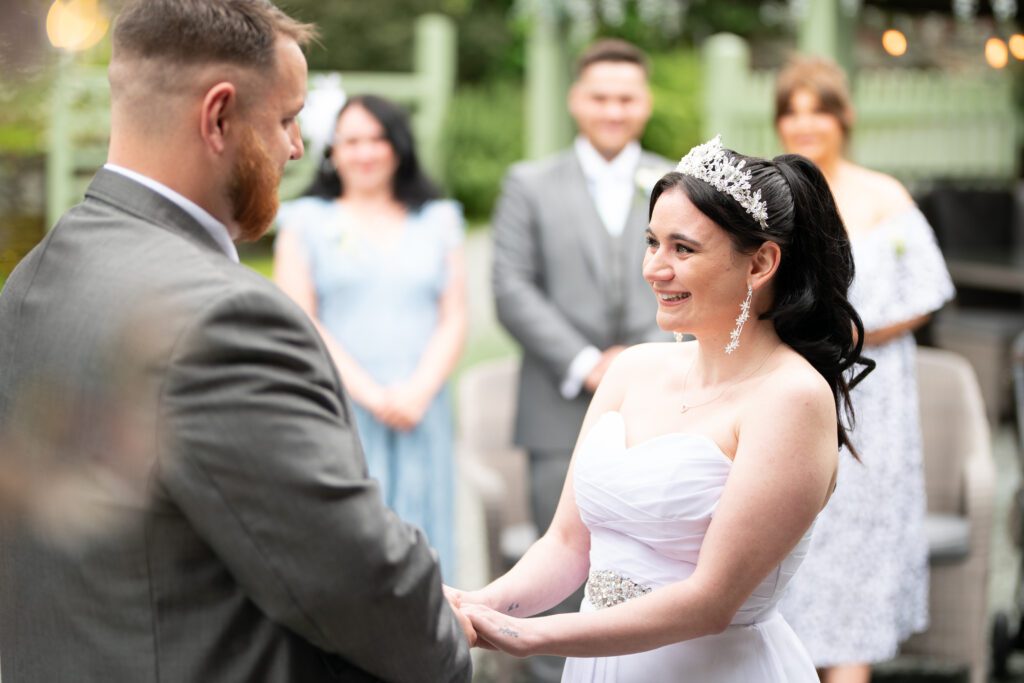
16. Exchanging of the Rings
- Anticipate the moment: Watch the ceremony carefully and anticipate when the exchange of rings is about to happen. Be ready to take multiple shots as the couple exchange rings to make sure you capture the perfect moment.
- Use the right lens: Depending on your camera and the location of the ceremony, you may need to use a particular lens to get the best shots. A prime lens with a wide aperture can help you achieve a shallow depth of field and isolate the couple from the background.
- Focus on the hands: To capture the rings clearly, focus on the hands of the couple as they exchange rings. This will ensure that the rings are in focus and sharp.
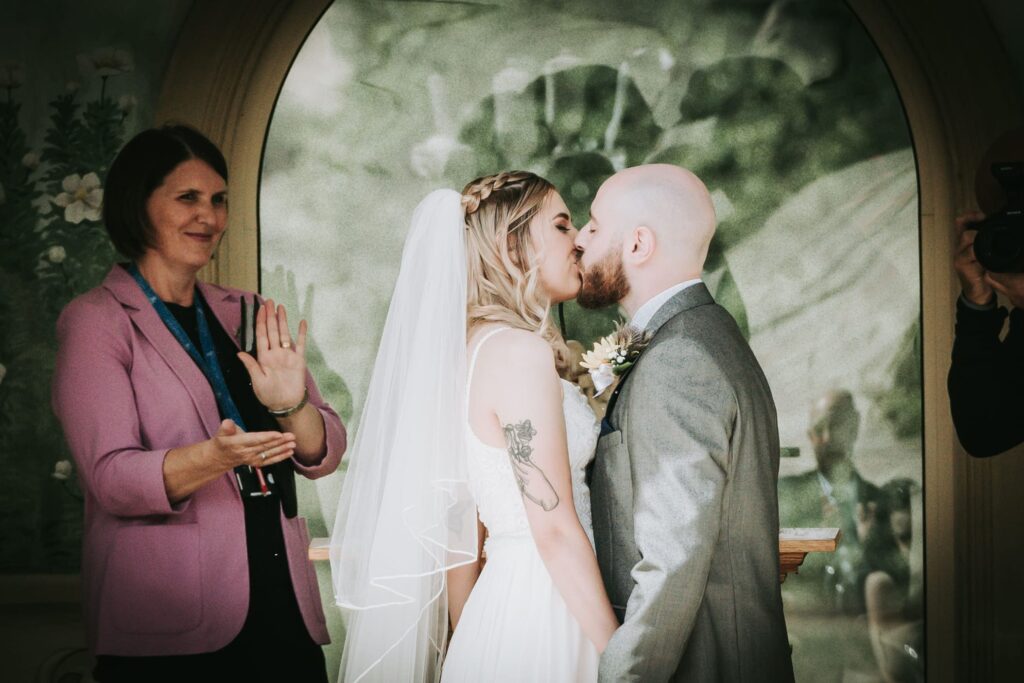
17. First Kiss
- Taking a picture of the first kiss on your wedding day is a popular tradition that many couples choose to include in their wedding photography. This photo captures a special moment between the newlyweds as they share their first kiss as husband and wife, and it is a beautiful way to preserve the memory of the wedding day.
18. Signing The Register
- Pose naturally: When taking the photos, try to pose naturally and be yourself. Your photographer should capture candid and natural moments, so don’t be too rigid or posed.
- Include your witnesses: Don’t forget to include your witnesses in the photos. They are an important part of the ceremony and should be captured in the shots.
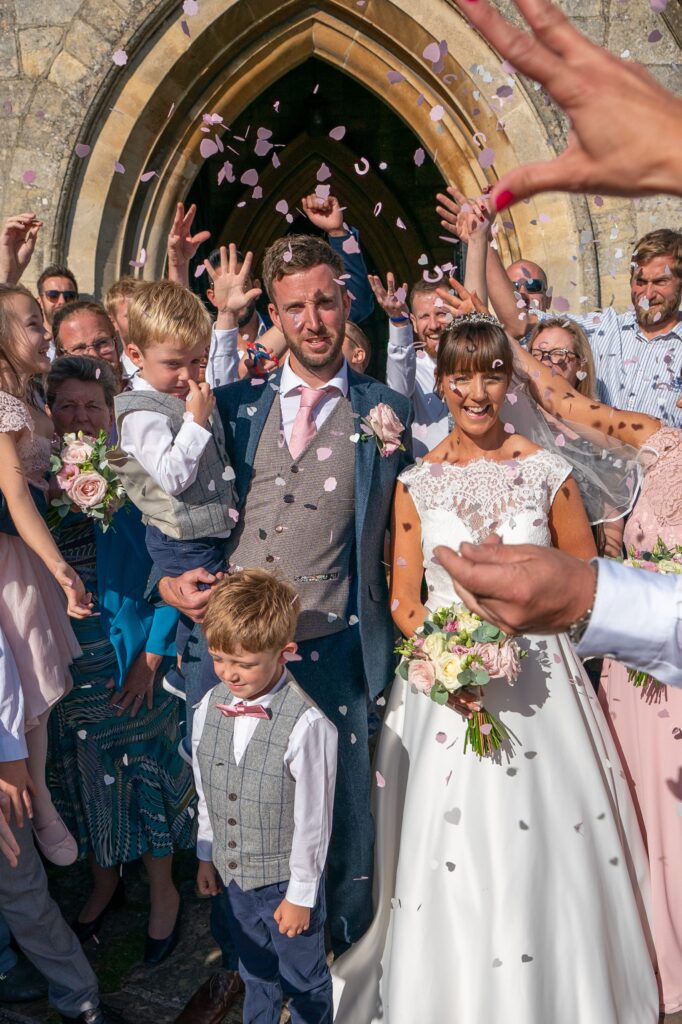
19. Thowing the Confetti
- Set the stage: Before the confetti toss, make sure the area is well-lit and free from clutter or distractions. Position the wedding party or guests where you want them to be and make sure they know when to throw the confetti.
- Use a fast shutter speed: To capture the movement of the confetti in mid-air, use a fast shutter speed on your camera. This will freeze the action and give you a crisp image.
- Use burst mode: Switch to continuous shooting mode, and use it to capture multiple shots in quick succession. This will increase your chances of getting the perfect shot.
- Have fun: Above all, remember that the confetti toss is a fun and festive moment. Be present in the moment and enjoy capturing the joy and excitement of the celebration.
20. Tossing of the Bouquet
- Be prepared: Talk to the bride ahead of time to find out when she plans to do the bouquet toss. This will give you time to set up your equipment and get into position.
- Get the right angle: Position yourself in front of the bride and have your camera ready to capture the moment when she tosses the bouquet. Consider using a wide-angle lens to capture the entire scene.
- Get the timing right: The key to getting a great shot of the bouquet toss is to capture the exact moment when the bride releases the bouquet.
21. Family Group Shots
- Lighting: Proper lighting is crucial for achieving beautiful, professional-looking photos. Ensure that the group is well-lit, with natural light being ideal for outdoor shoots. If shooting indoors, use a flash or additional lighting so that everyone’s faces are clearly visible, avoiding harsh shadows or overexposing the subjects.
- Positioning: Arrange the family members to emphasize their relationships while also considering their heights and body shapes. Taller individuals should be placed toward the back, while children and shorter individuals should be in the front. Try to create natural, comfortable poses that make everyone look their best.
- Facial expressions: Guiding your subjects to display genuine, warm smiles and engaging expressions is essential. Encourage everyone to relax and share a moment of joy by sharing a funny story, playing music, or giving clear, specific directions to help elicit the desired emotions.
- Background: Choose a background that complements the wedding’s theme and colors, without being too busy or distracting. Outdoor scenes, such as gardens or beach landscapes, can provide a beautiful, natural backdrop, while indoor shots could benefit from a clean, elegant, and simple background.
- Attire: Ensure that everyone in the group is dressed appropriately and looks their best. Coordinate outfits and color schemes to create a cohesive appearance that will enhance the final image.
Timing: Schedule the family group shots during a time when everyone is available, ideally between the ceremony and the reception. Work quickly and efficiently to capture the photos, keeping in mind that everyone may be eager to join the festivities. - Group dynamics: Be aware of the family’s relationships and sensitivities, ensuring that estranged or divorced individuals are positioned comfortably and as per their preferences. Knowing this information beforehand can help you handle delicate situations and navigate potential conflicts with ease.
Eye contact: Encourage everyone to maintain eye contact with the camera, giving your shots a more engaging, personal feel

22. Drone Photo of the whole wedding party
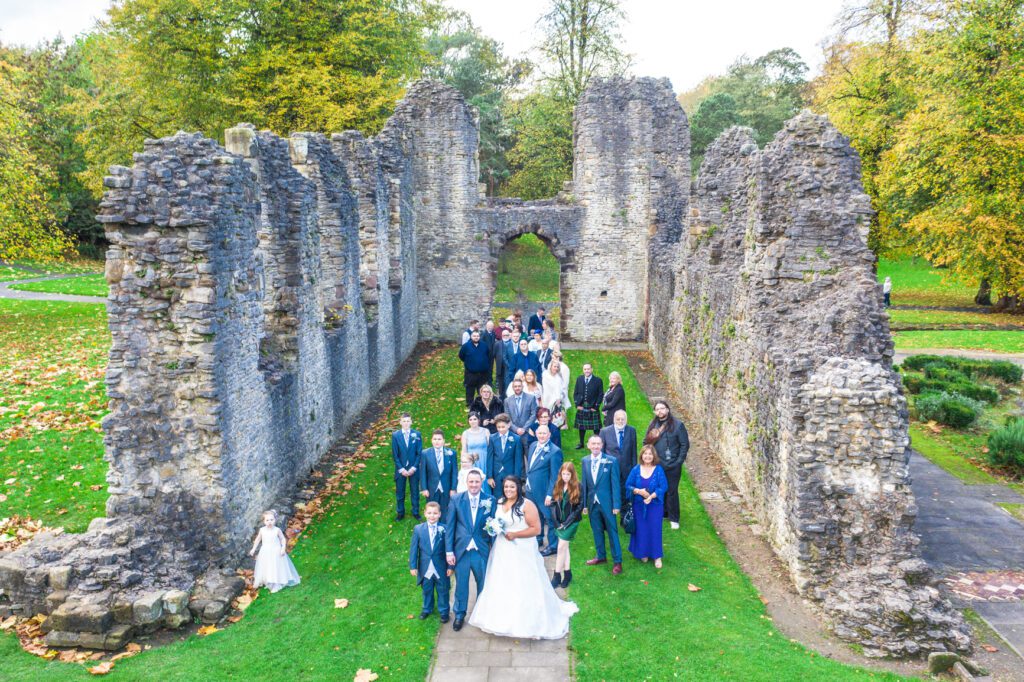
- This is a shot we take at most weddings, we make sure we have an open space – avoid areas with trees or other objects that could obstruct the view.
- We try to get the venue in the background of the picture to help remind the couple of where they got married.
- We pay attention to drone safety and stay at least 30 meters away from people and objects for safety reasons.
Get in touch with us today
If you are in need of a photographer and want to discuss your wedding further then get in touch with us today and we will be happy to help.
